
Tips: Checking and replacing the gas-block gasketUpdated 4 months ago
What is a gas-block gasket?
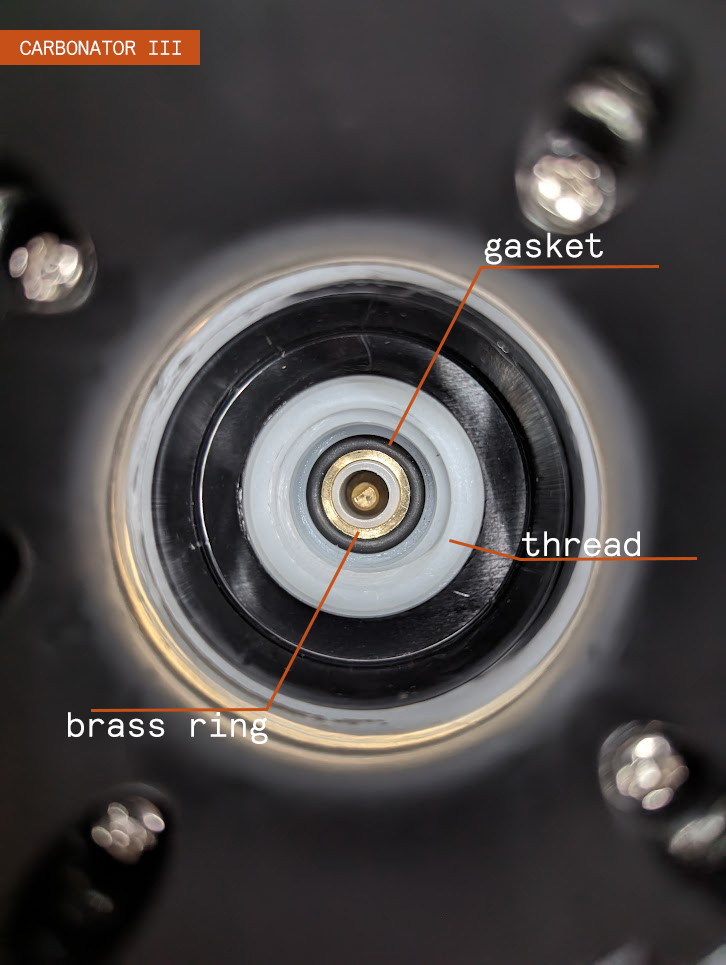
Gas-block gasket check
To check if the gasket is a good condition and present, unscrew the cylinder and turn the machine upside down or to the side - the seal will be visible at the top of the compartment. To take a photo, zoom in on the gasket area and make sure the focus is on the rings when you take a picture.
There are several issues which can occur here:
damaged gasket (the extent of the damage can vary from a little blown part or a little tear to a full disintegration)
missing gasket
misaligned gasket
missing brass ring (in this case, the machine needs to be replaced)
damaged parts in the gasket area, most often being the thread
If it looks any different from the photo above, the seal needs to be replaced. A spare seal is always provided with the machine and it is located under the foot (under a small sticker, above the serial number) and can be quickly replaced at home (especially in Carbonator III)
%20no.2.jpeg) Damaged Gasket: torn | %20no.3.jpeg) Damaged Gasket: torn | .jpg) Damaged Gasket: torn |
.jpg) Damaged Gasket: squeezed | 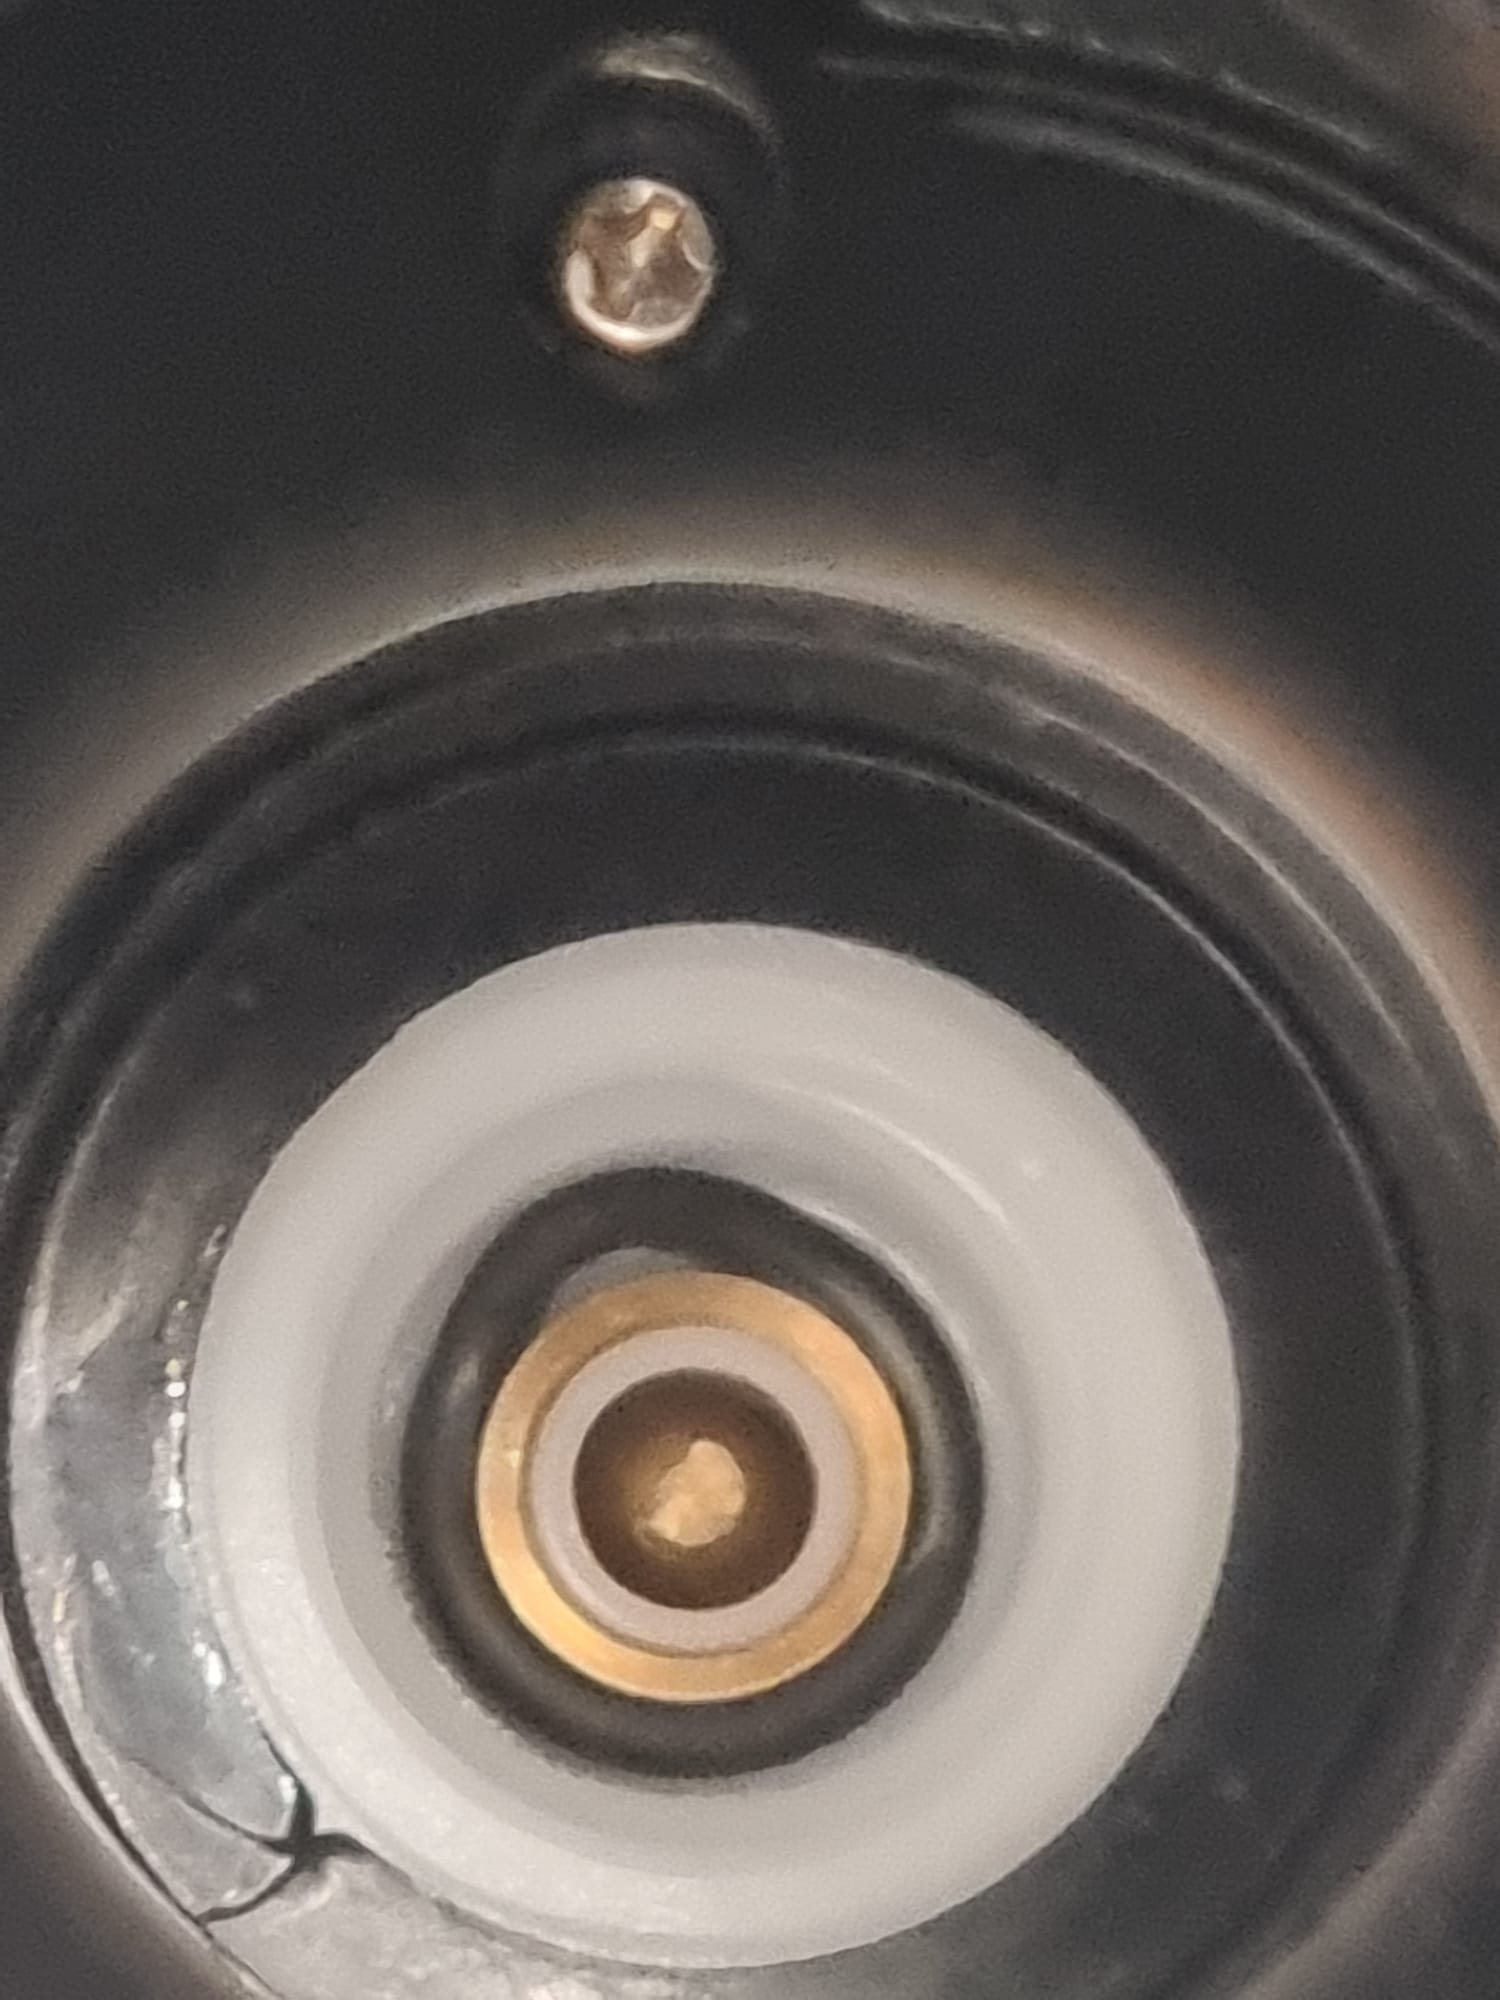 Damaged Gasket: misaligned | .jpg) Damaged Gasket: Blown |
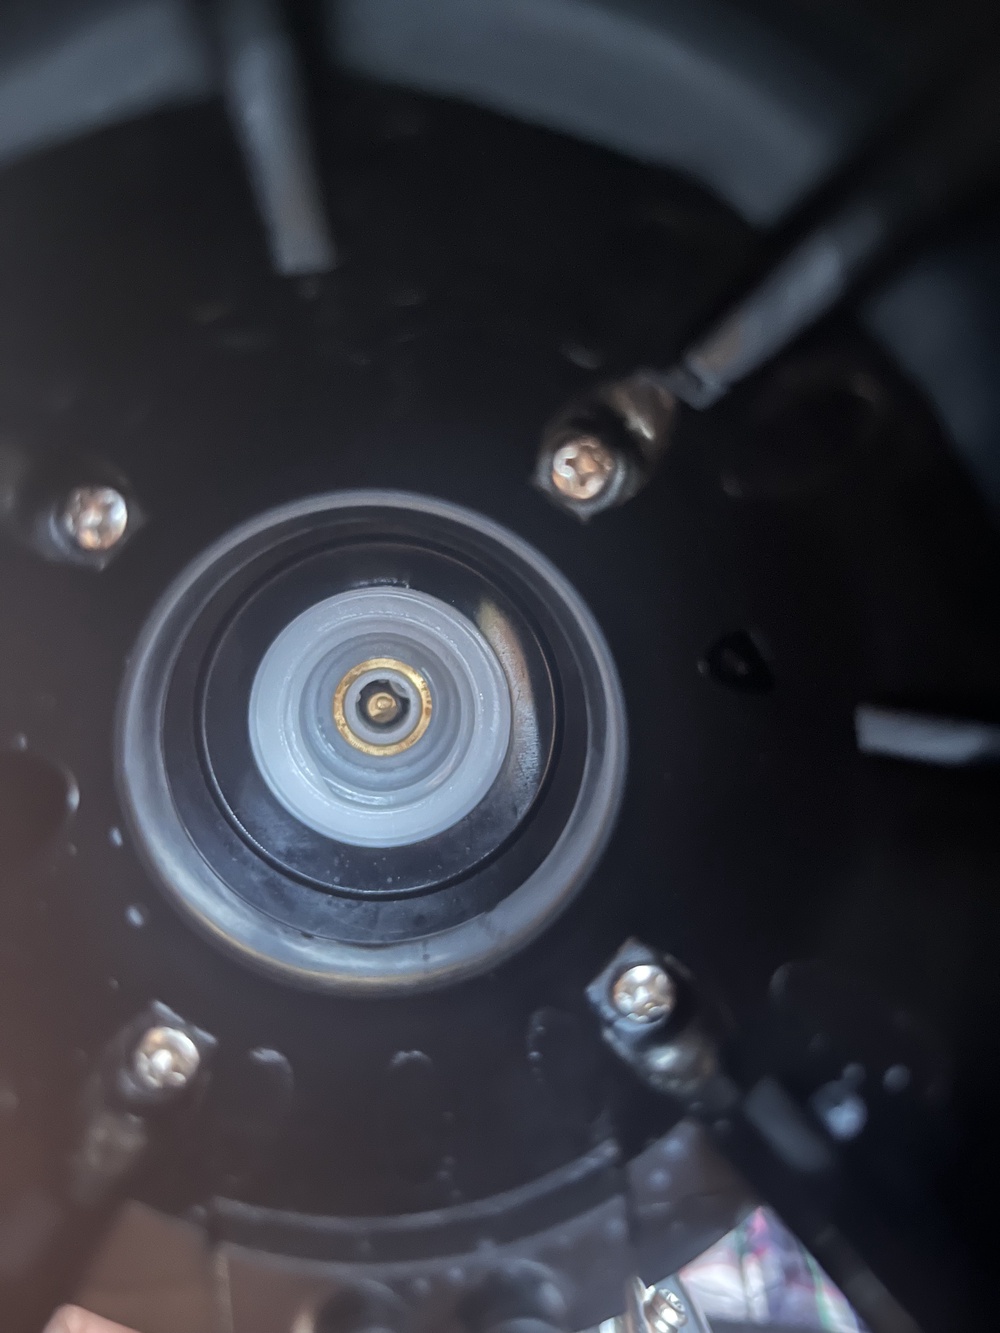 Missing Gasket | 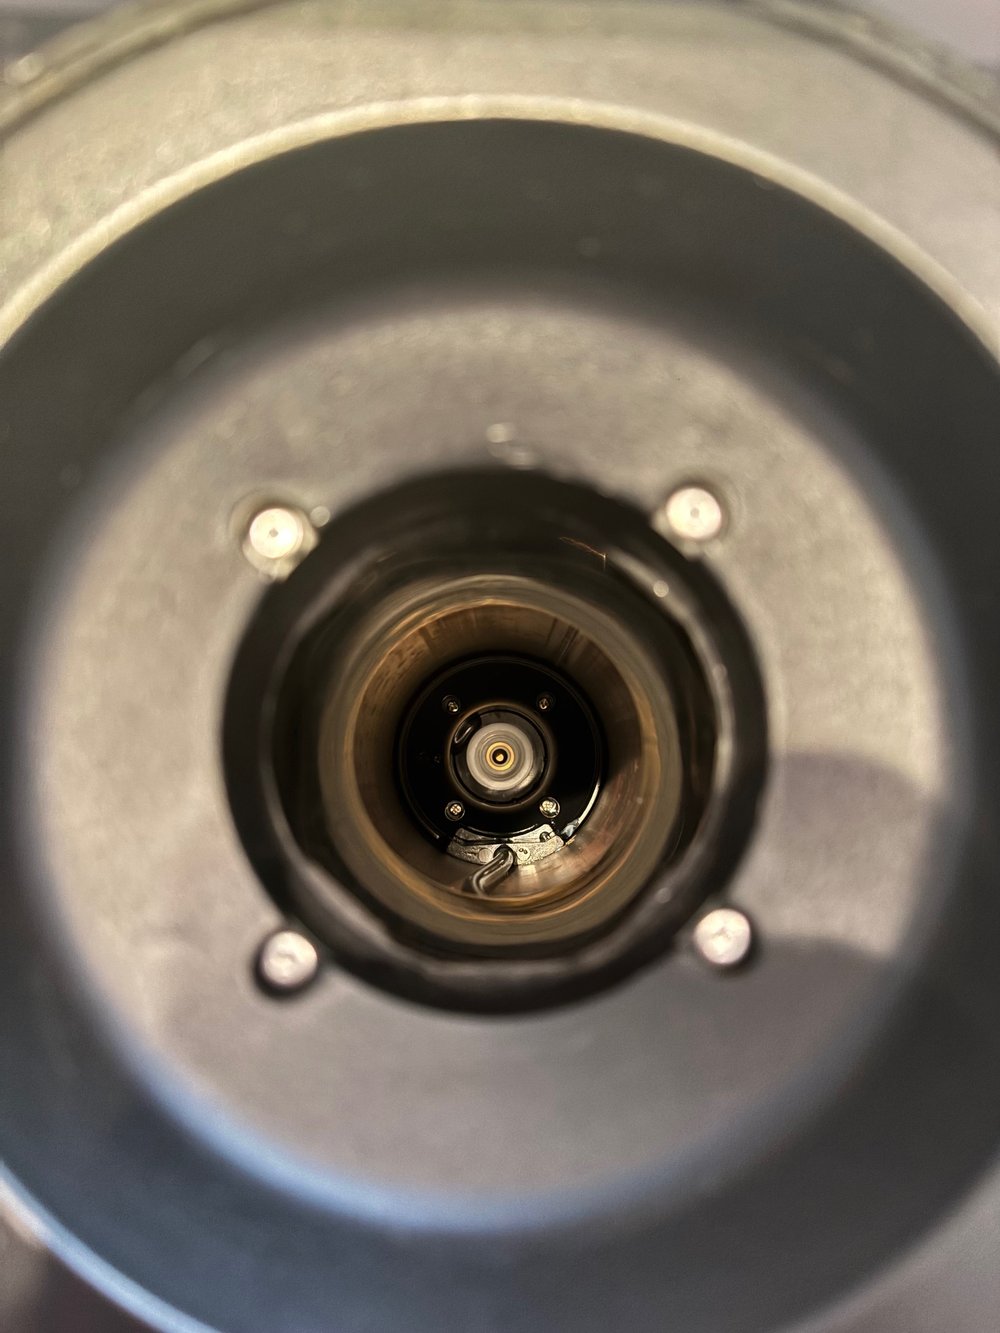 Missing Gasket | 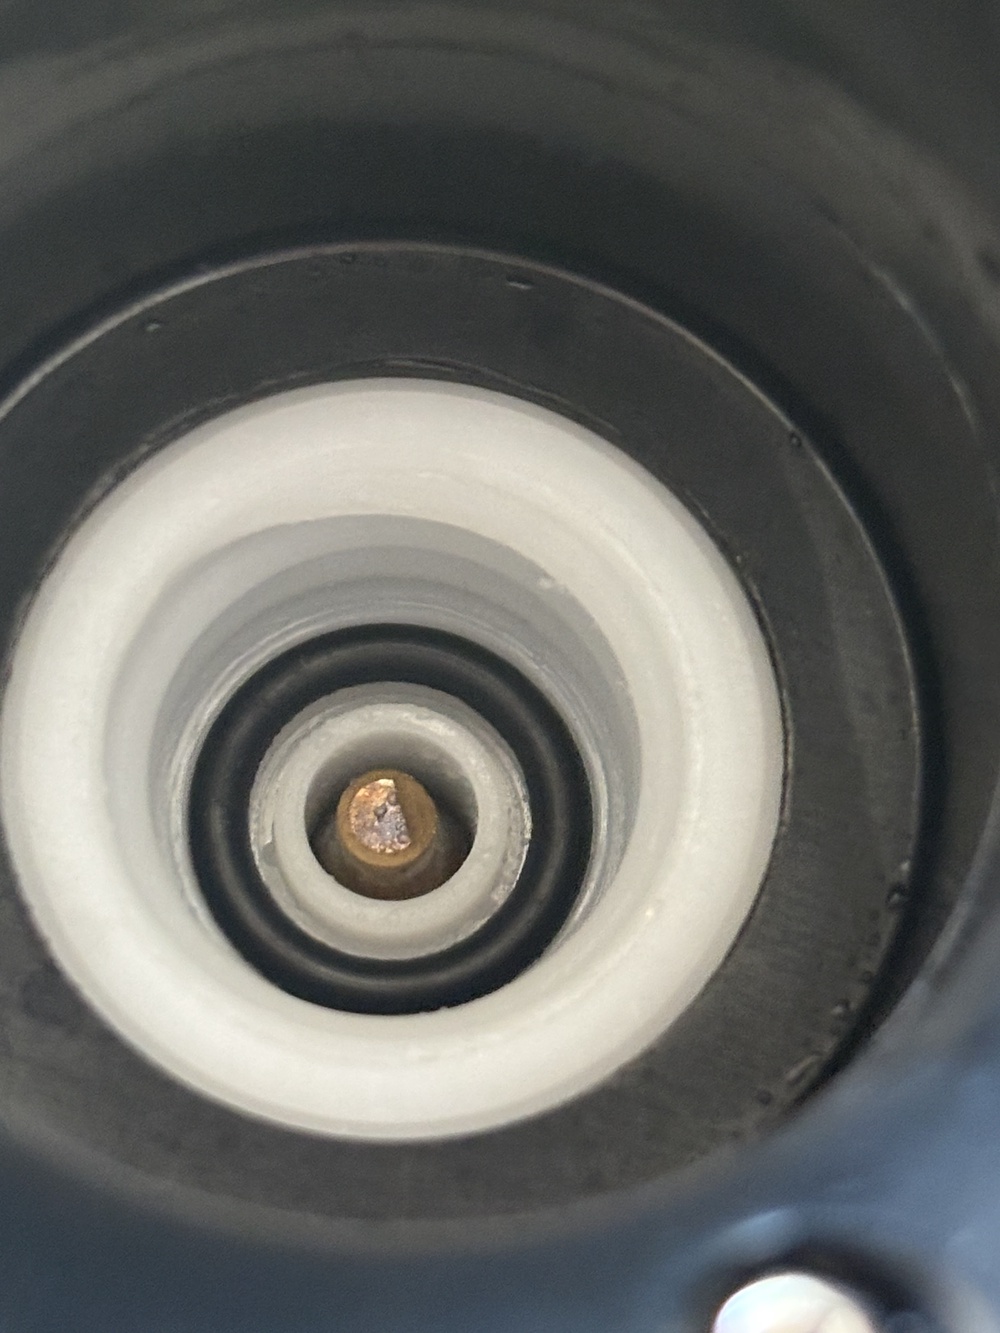 Missing Brass Ring |
Instructions on how to replace the gasket in Carbonator III
Remove the drip tray cover and prepare the new gasket.
Ensure that the CO2 cylinder has been removed from the Carbonator.
A round 2 cm/1in below the black seam, there is a screw at the back of the machine. Unscrew it using a Phillips-type screwdriver, grab the upper part of the machine, and lift it out from the body.
Turn the upper portion upside down and look inside. If necessary, remove the old gasket with tweezers or a small screwdriver. Place the new gasket into the circular hole and push it into place around the entire perimeter.
Place the upper portion of the machine back into the main body. Ensure it's straight and facing the correct direction before screwing it back in.