
Tips: Checking and replacing the gas-block gasketUpdated 4 months ago
What is a gas-block gasket?
The gas-block gasket is a small, round, black, rubber seal, often called o-ring, washer or rubber. It is located around the brass ring, in the compartment where the CO2 cylinder is screwed in and is a crucial part of the Carbonator Pro and I-III. When the gasket is missing or damaged, the machine will not produce sufficient carbonation, and it can also cause the cylinder to lose all the CO2.
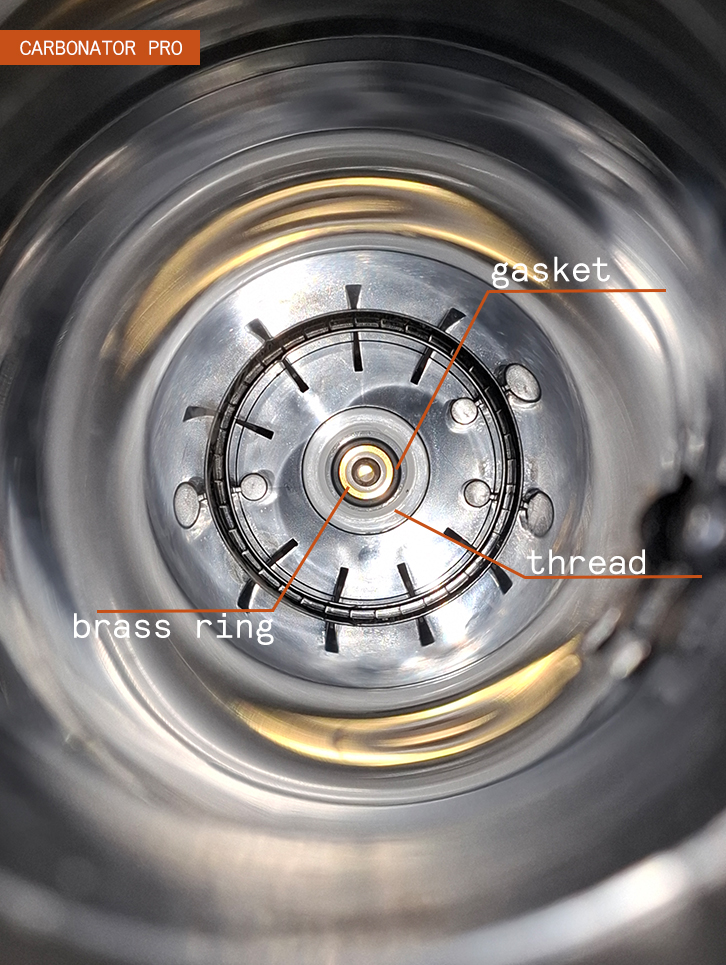
Gas-block gasket check
To check if the gasket is a good condition and present, unscrew the cylinder and turn the machine upside down or to the side - the seal will be visible at the top of the compartment. To take a photo, zoom in on the gasket area and make sure the focus is on the rings when you take a picture.
There are several issues which can occur here:
damaged gasket (the extent of the damage can vary from a little blown part or a little tear to a full disintegration)
missing gasket
misaligned gasket
missing brass ring (in this case, the machine needs to be replaced)
damaged parts in the gasket area, most often being the thread
If it looks any different from the photo above, the seal needs to be replaced. A spare seal is always provided with the machine and it is located under the foot (under a small sticker, above the serial number) and can often be replaced at home.
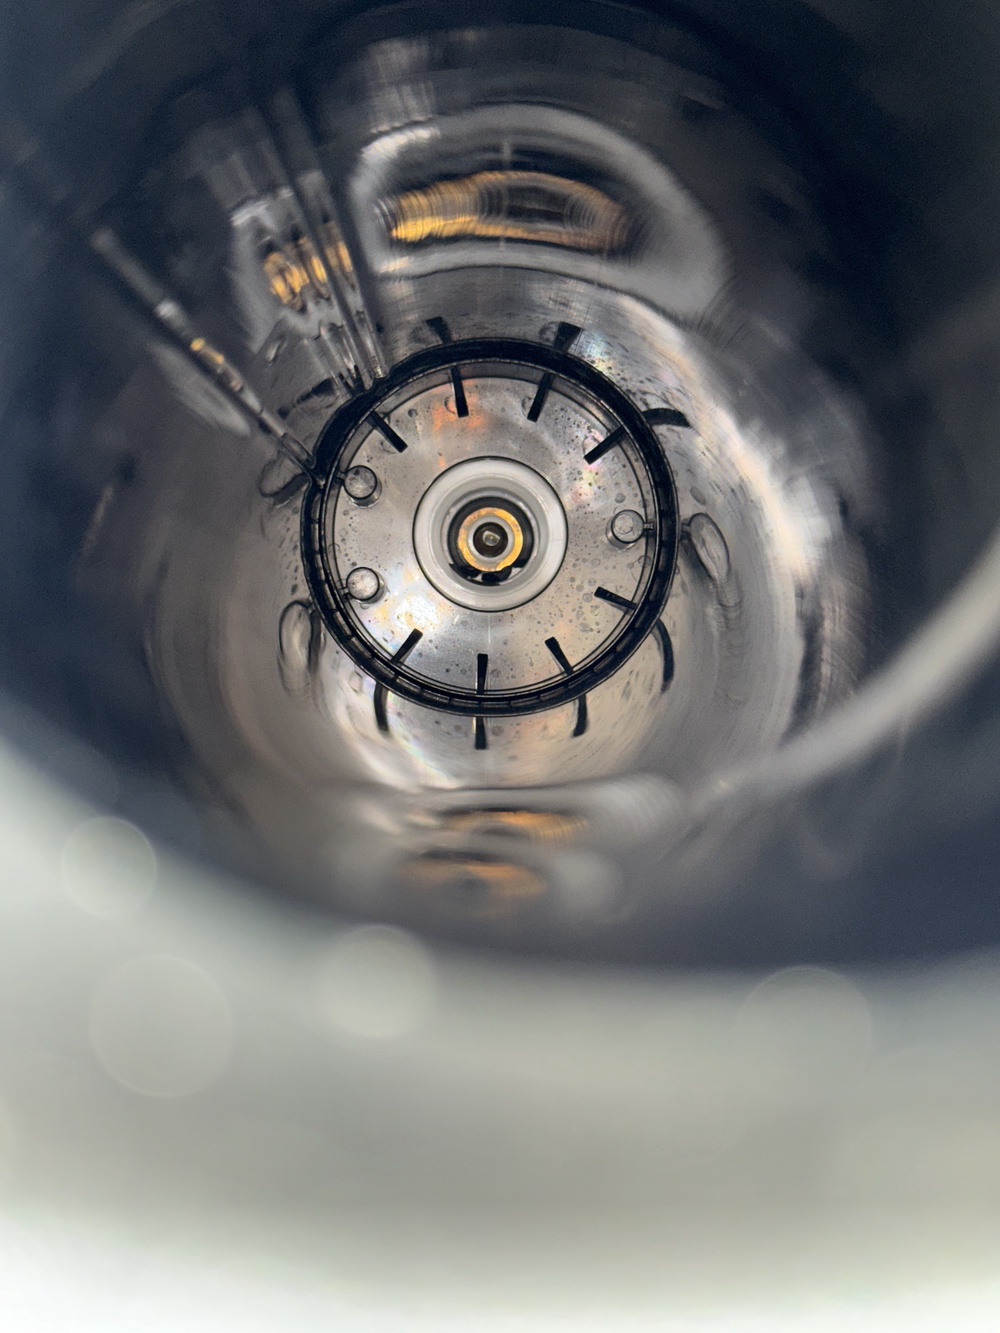 Damaged gasket - torn Damaged gasket - torn | 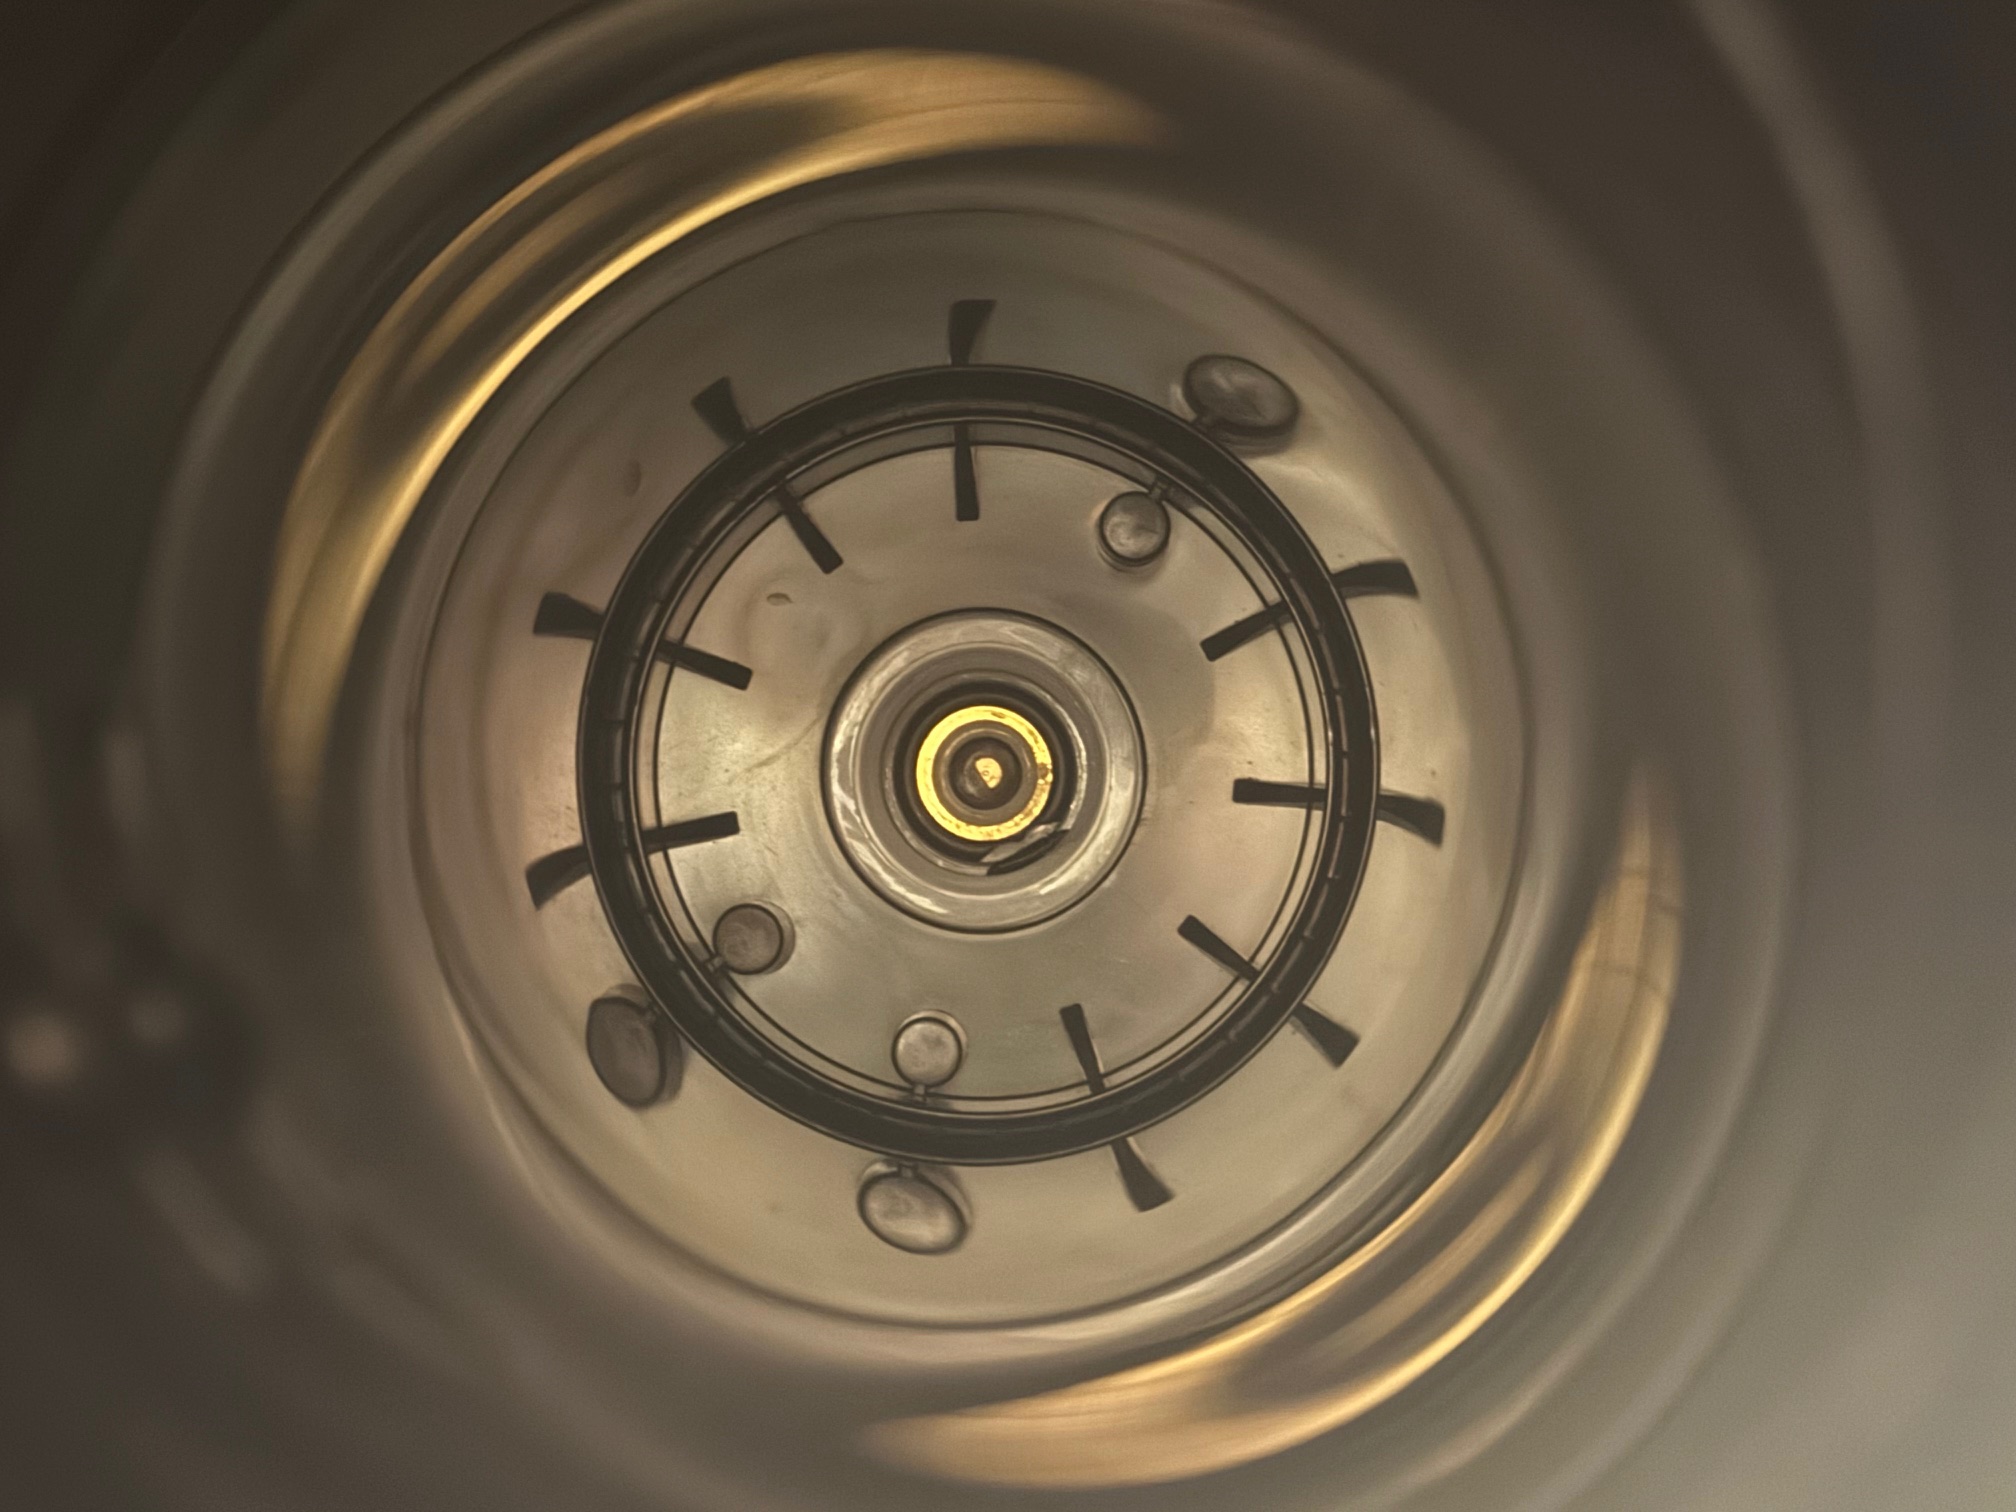 Damaged gasket - torn Damaged gasket - torn | 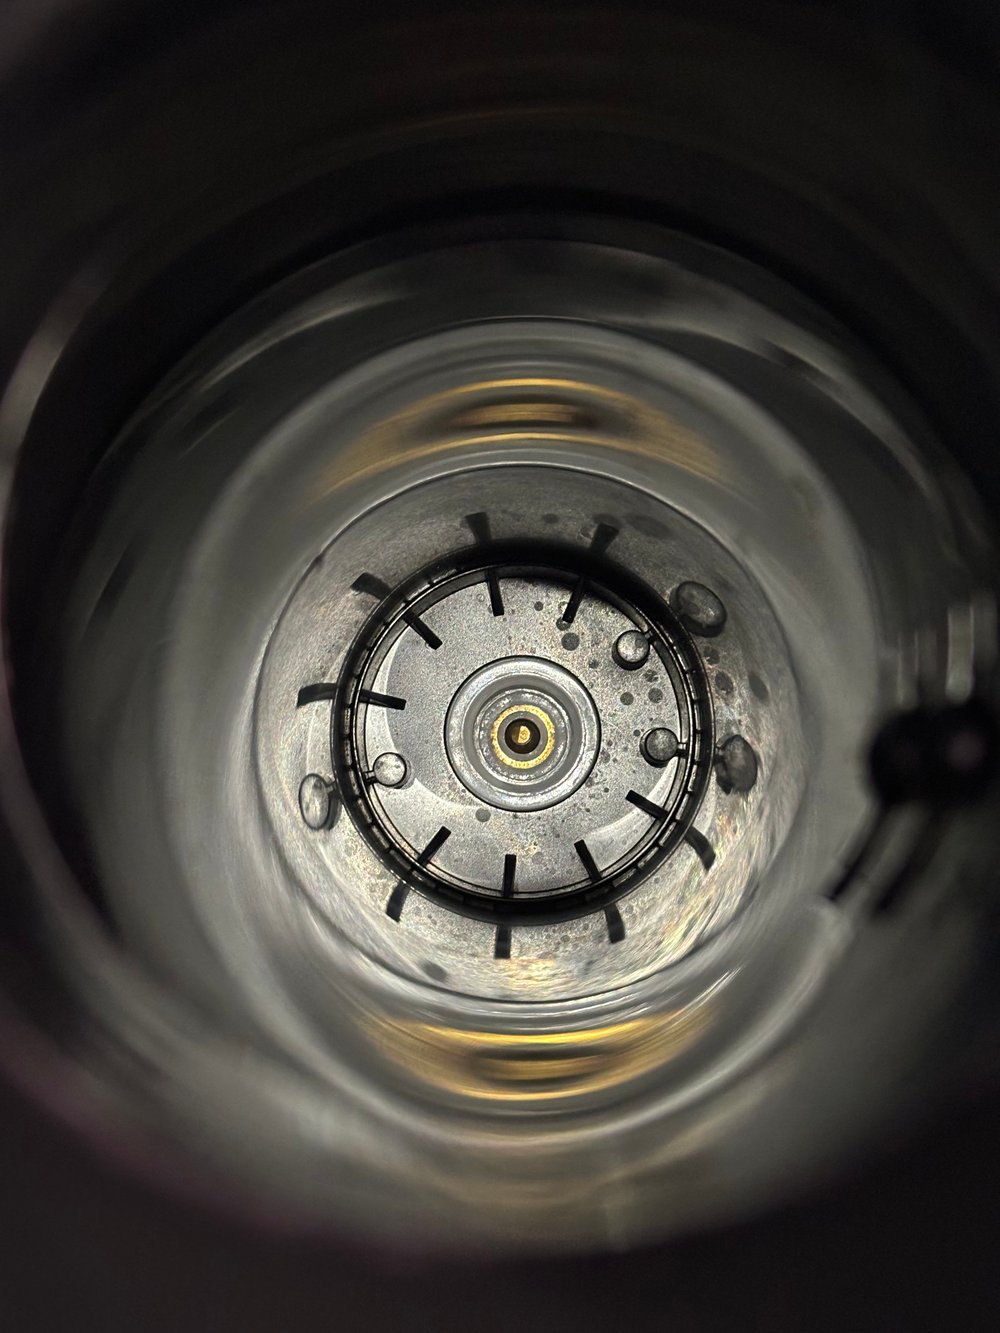 Missing gasket Missing gasket |
Instructions on how to replace the gas-block gasket in Carbonator Pro
Please find attached a short instructional video from our engineers demonstrating how to remove the gasket most easily.
1. Screw in the CO2 canister and close the head (no bottle is needed).
2. Press and hold the button, then start unscrewing the canister while continuing to press the button.
3. You should hear a slight “pop” as the gasket is pushed out and falls when you remove the canister, as shown in the video.
4. Be careful to prevent the machine from tipping over.
Afterwards, you can easily insert the extra gasket found underneath the machine's foot. We recommend dropping it inside the cylinder compartment first. Then, hold the machine upside down with both hands and gently wiggle it so the gasket moves to the lowest point of the compartment. Finally, screw in the gas cylinder again to secure the gasket in place.
Alternatively, you can place the gasket directly onto the gas cylinder and then screw it in tightly. When you remove the cylinder, the gasket will stay in place.
If this does not resolve the issue, please contact our customer service team for further assistance.